DIY: BACKGROUND BOARDS FOR ART PHOTOGRAPHY

001. Today on the journal, I am sharing a super simple DIY on how to make textured background boards for art and product photography. As an artist and photographer, it has been a lengthy process figuring out the way I want to photograph and showcase my OWN art and share it with the world, but I am pretty happy with where I have ended up. I want to share this DIY with other creatives because it’s great if you don’t have a whole huge fancy studio (I’m very nomadic and move a lot, so this is why it works for me) and want to showcase your art in a way that’s easy to capture.
002. I’ve recently been trying to up-skill. in my social media skills, so I’ve made a couple reels of the process on the Shop Frockled Instagram. If you would like a couple of visual aids to add to this written instructional, click part one HERE and part two HERE.
MATERIALS NEEDED:
MDF boards (whatever size suits your needs)
plaster of paris (sourced from bunnings)
spatula/spoon to mix plaster
large shallow bowl/dish to mix plaster in
extra utensils/spatula/etc to spread plaster on board
priming paint/gesso
paint (white is preferable for this)
water
STEP ONE: Paint the MDF boards with a layer of primer/gesso and let dry.
STEP TWO: Mix together the plaster of paris and water in a large shallow dish. You are aiming for a pretty wet overall consistency, but still thick enough to pick up with your spatula and spread onto the boards. I don’t have measurements for this part sorry- it’s all up to you and how textured you want it to look ! I like to add in a fair bit of plaster, then add water and mix, and then add a bit more water or plaster, whatever is needed, til I reach the desired consistency.
STEP THREE: Get the dry, primed boards, and the plaster ready to go and slap it on ! Gently but quite literally- this part is quite free flow, fun and messy. I use a big silicone plastic spatula at the moment, as my choice of tool, but feel free to experiment with whatever things you have lying around that might do the trick (even your hands will work). During this step of covering the boards, I usually have to go back to step two and make some more plaster mix up as I go. Plaster dries pretty fast in a warm climate, so this is kinda a necessary part of the process for me.
STEP FOUR: Let your fully-covered-sloppy-plaster-paint-MDF-boards with plaster completely dry. I recommend not directly in the sun if possible - I’ve done this DIY a couple times and for some reason they cracked a bit more when in the sun in a hotter climate, then when I made them in the shade of a garage in the middle of a cold winter. Still not sure on the science of this - but dry out of direct sunlight to avoid cracking.
STEP FIVE: Once your boards are fully dry (I usually wait until the next day), it’s time to paint! I recommend white paint for this DIY, because it reflects the light and helps your product photography come up really nice and well-lit. At least two coats of paint to make sure you cover it thoroughly. If you did experience any cracking during the drying process, at this stage you paint a couple of extra thick layers of paint over those areas to help seal it all together. I get some minor cracking sometimes depending on my plaster mix, but I find it is not noticeable after a couple of layers of paint at the end - nothing to stress about.
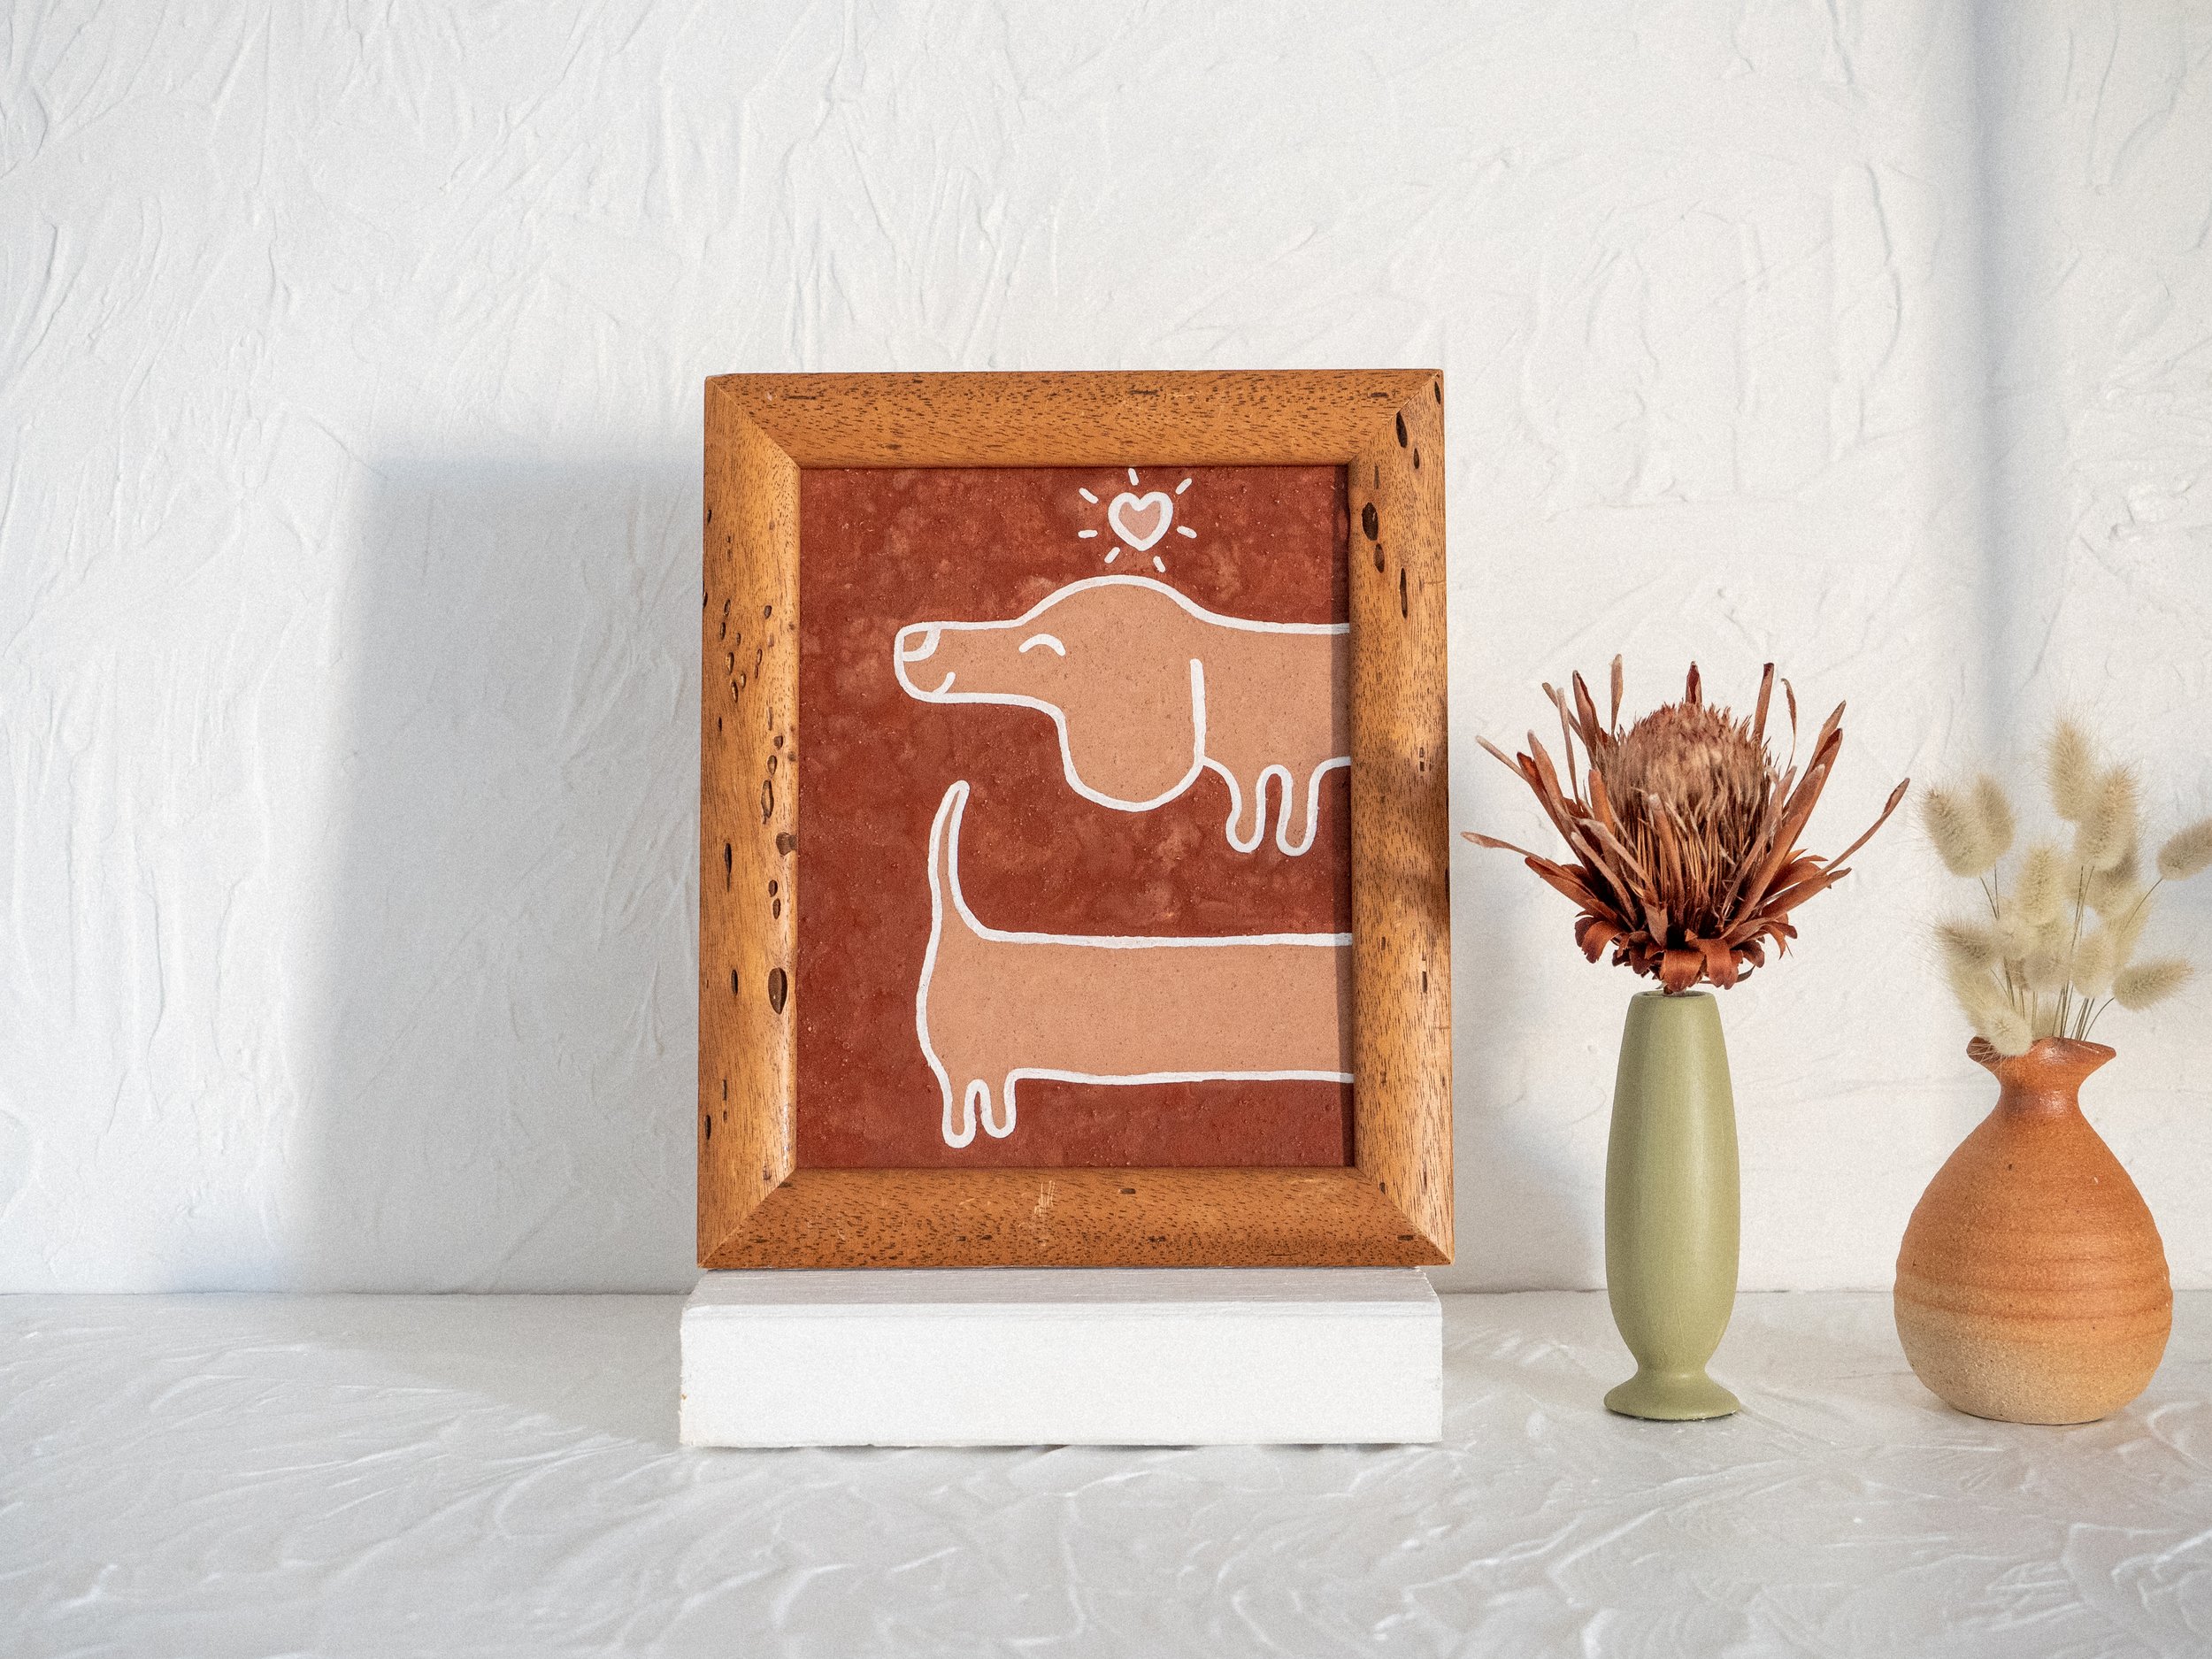
STEP SIX: Once fully dry - style and shoot! I have a lot I could say about this point… stay tuned for whole post of styling, photography and post-editing tips for art product photography.
Lena x